این آموزش به درخواست amirz1376 در سایت قرار داده شده است.
![]()
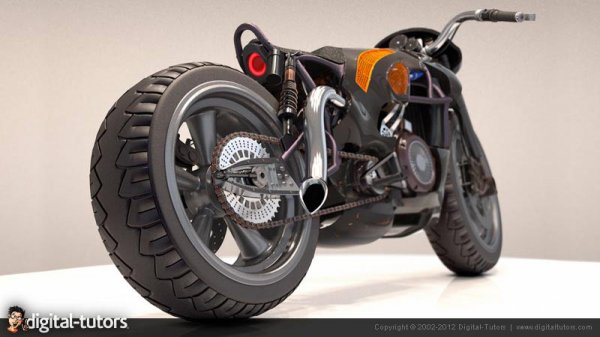
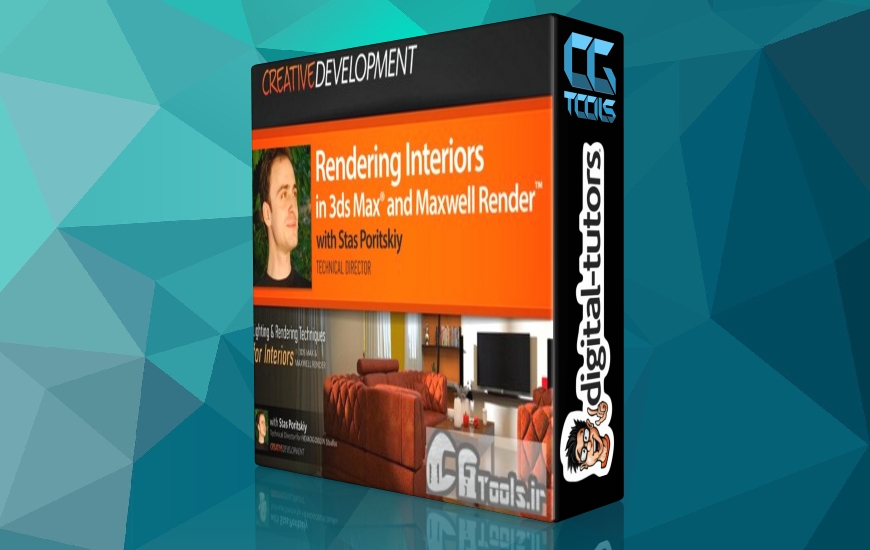
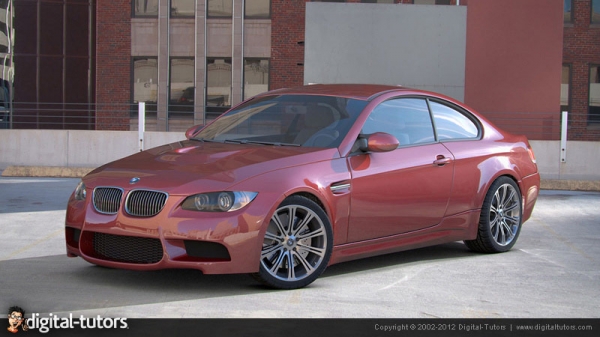
Digital Tutors - Automotive Texturing and Rendering in Maya and Maxwell Render
Time : 5h 18m | Size : 5.84 GB | Software Used : Maya 2012, Photoshop CS5, Maxwell Render 2.6
با سلام
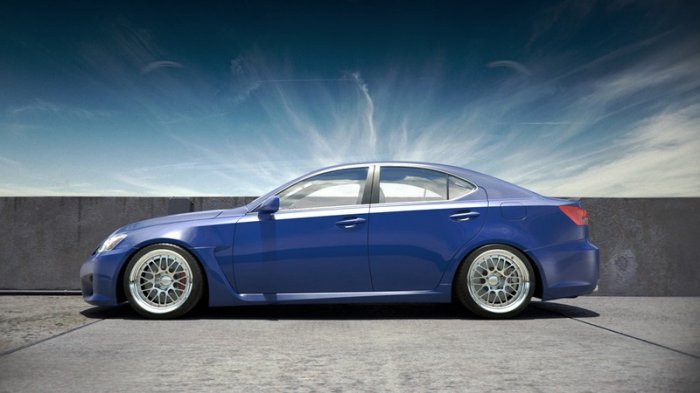
در این آموزش میخواهیم نحوه ی ساخت متریال ها و برخی از تکنیک های UV ساخت را با استفاده از موتور رندر Maxwell و نرم افزار Maya به شما آموزش دهیم. در این آموزش تمرکز ما بر روی اتومبیل ها است ، ما از متریال های آماده ی موتور رندر Maxwell و همچنین ساخت برخی متریال ها به صورت دستی برای کار نهایی استفاده میکنیم.در این آموزش ما برخی از نواحی کار موتور رندر مکسول و نیز نحوه ی کار با Material Editor آنرا شرح می دهیم.ما ابتدا با استفاده از متریال های پیش فرض و ویزارد که به ما کمک میکنند سرعت خود را بالا ببریم استفاده میکنیم.پس از آن برخی از پارامتر های آنها را نیز به دلخواه خود تغییر می دهیم.در ادامه ما از راههای مختلفی برای گرفتن UV ها استفاده میکنیم ، و همچنین در مورد وضعیت های مختلف نورپردازی صحبت خواهیم کرد.و در آخر در مورد نحوه ی رندر کردن مدل خود صحبت خواهیم کرد و اینکه مدل ما چگونه رفلکتهای درست را به خود بگیرد.
مشاهده توضیحاتــ انگلیسی
In this series of tutorials we are going to look at in-depth material creation in Maxwell and learn several new techniques for UV layout. We will focus on automotive paint and decals. We will be using presets available in Maxwell as well as creating custom materials from scratch to achieve the proper final look. During this course, we will explore additional areas of Maxwell Render, explore in-depth material networks in Maxwell Material editor. We will start by using stock presets and wizards that will help us quickly get to our desired look, and look into parameters that would need to be changed in order to produce final visual quality. Along the way we will focus on creating several UV maps for decals to be properly located on the model, and talk about different lighting situations. During this demo we will look at how quickly and efficiently we can create a quick exhibition set to render our model, setup lighting, and receive proper reflections and highlights for our final render as well as touch on basic photo correction in Photoshop to finalize our project.

